Password reset
What we will build
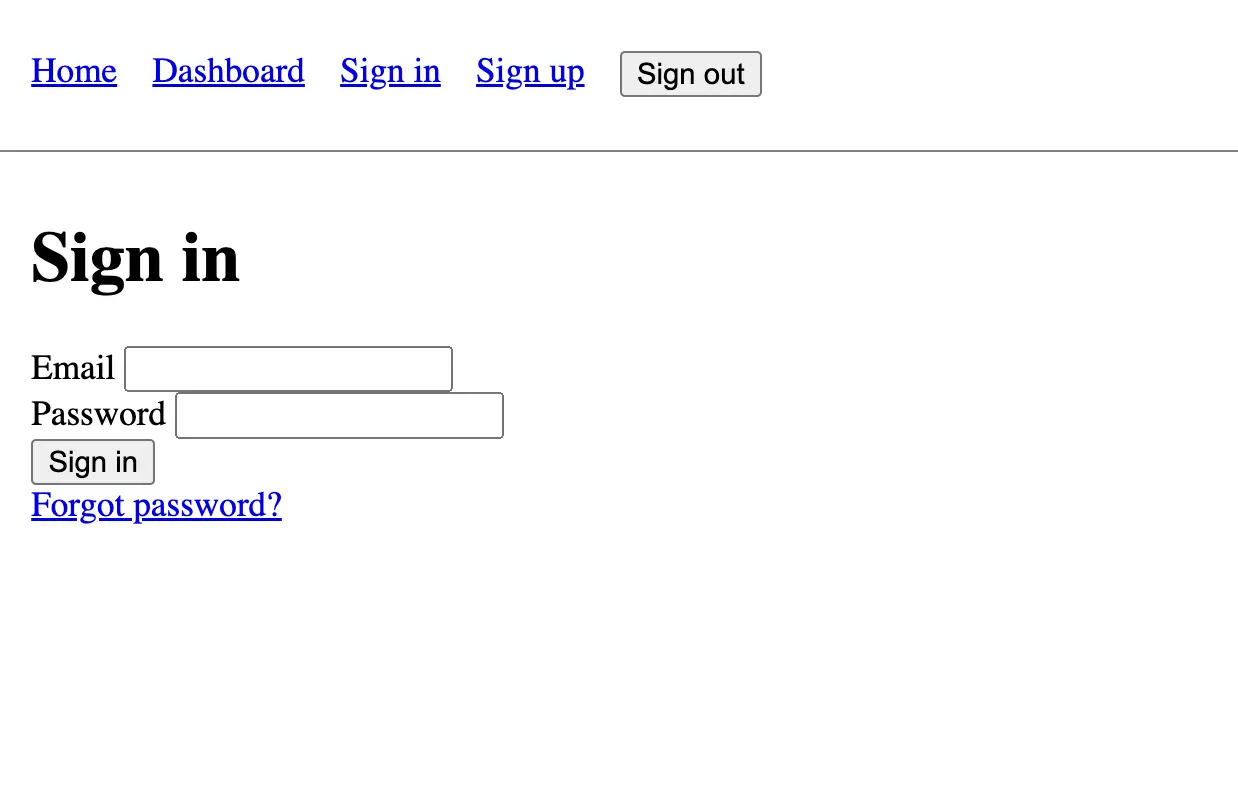
In this lesson, we will learn how to implement the password reset functionality in our application. Here's how it will work: When users try to sign in and realize they've forgotten their password, they will click on the "Forgot password?" link:
They will be redirected to a page where they can enter their email address:
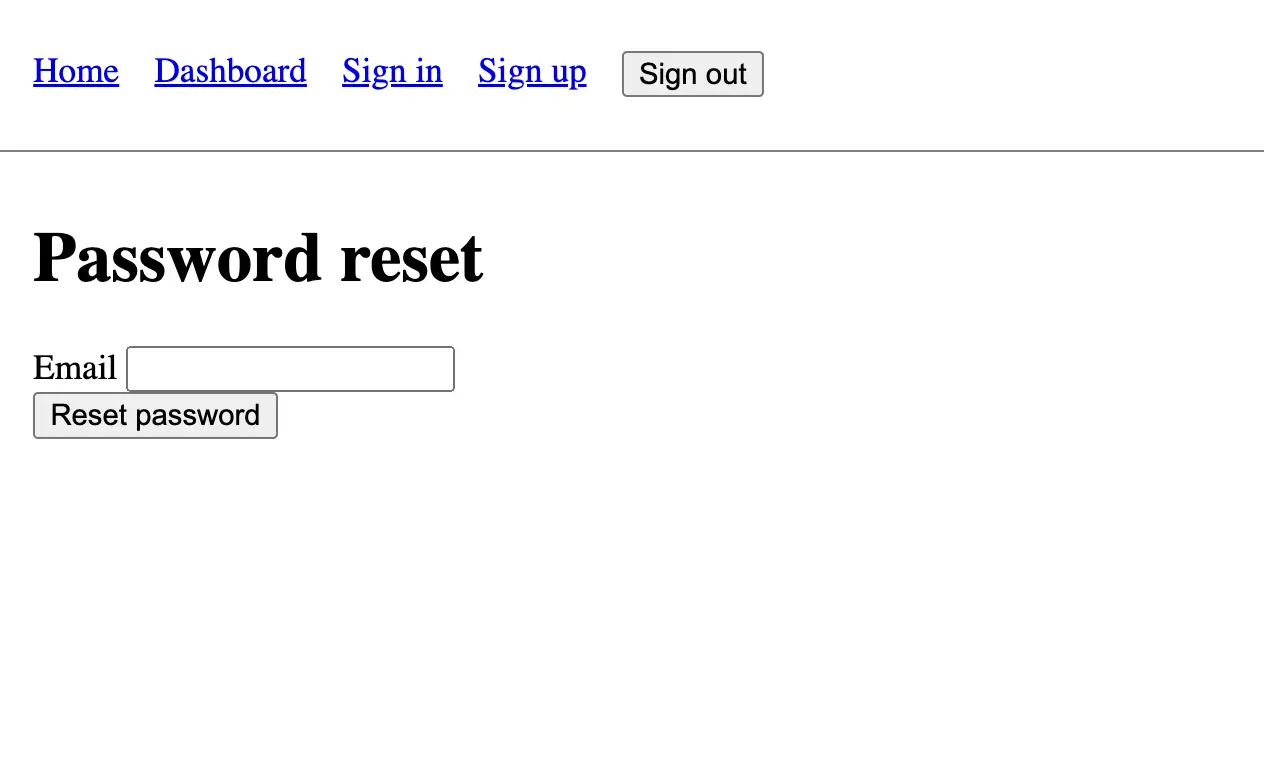
To reset a user's password, we first need to prove that they are the owner of the email address that they entered. To do this, we will send them an email with a link that contains a token that is unique to them.
When they click on the link, they will carry with them this unique token and send it back to our server when they submit their new password. If our server receives the correct token, we will know the user is the owner of the email address and that we can safely update their password.
If the token is blank or invalid, we won't update the password as we can't be sure that the user is the owner of the email address.
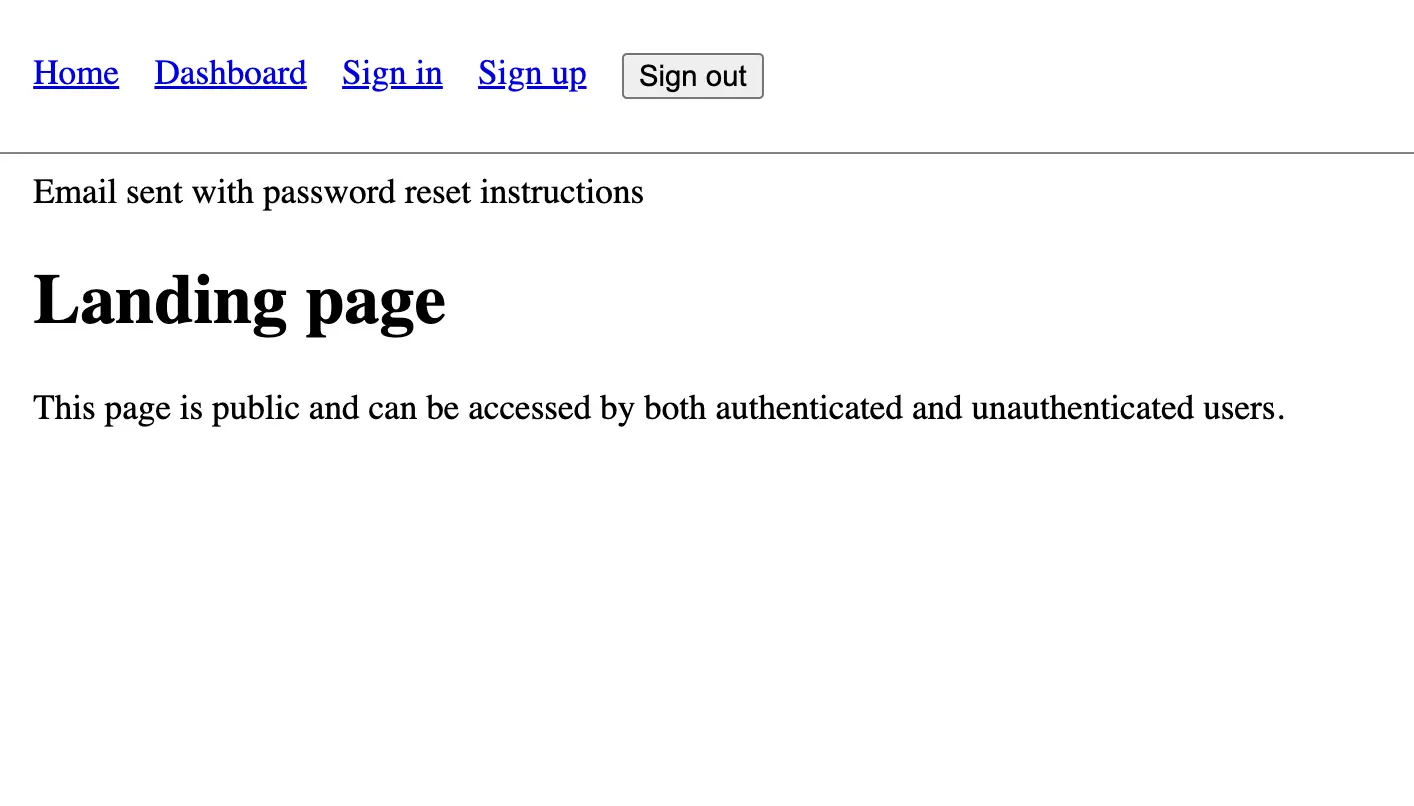
When a user submits an email address that is present in our database, we will redirect them to the landing page with a notice telling them the email was sent:
Here is what the link in the email will look like:
<a
  target="_blank"
  href="http://localhost:3000/password_reset/edit?password_reset_token=xyz123"
>
  Change my password
</a>
As you can see, the unique token is present in the password_reset_token parameter in the URL. When the user clicks on the link, they will be redirected to a page where they can enter their new password. We will extract the unique token from the URL and place it in a hidden field in the form:
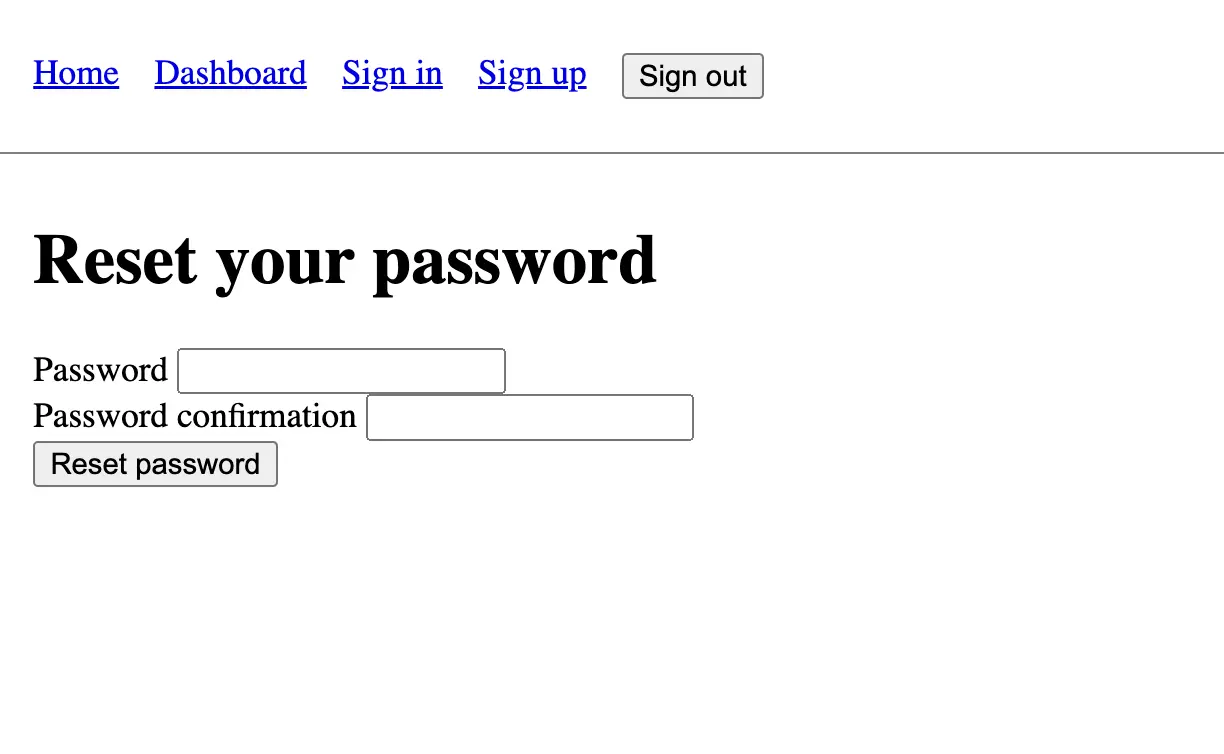
If the user enters a valid password/password confirmation pair and has the correct token, we will update the password and redirect them to the dashboard page with a notice that their password was successfully updated.
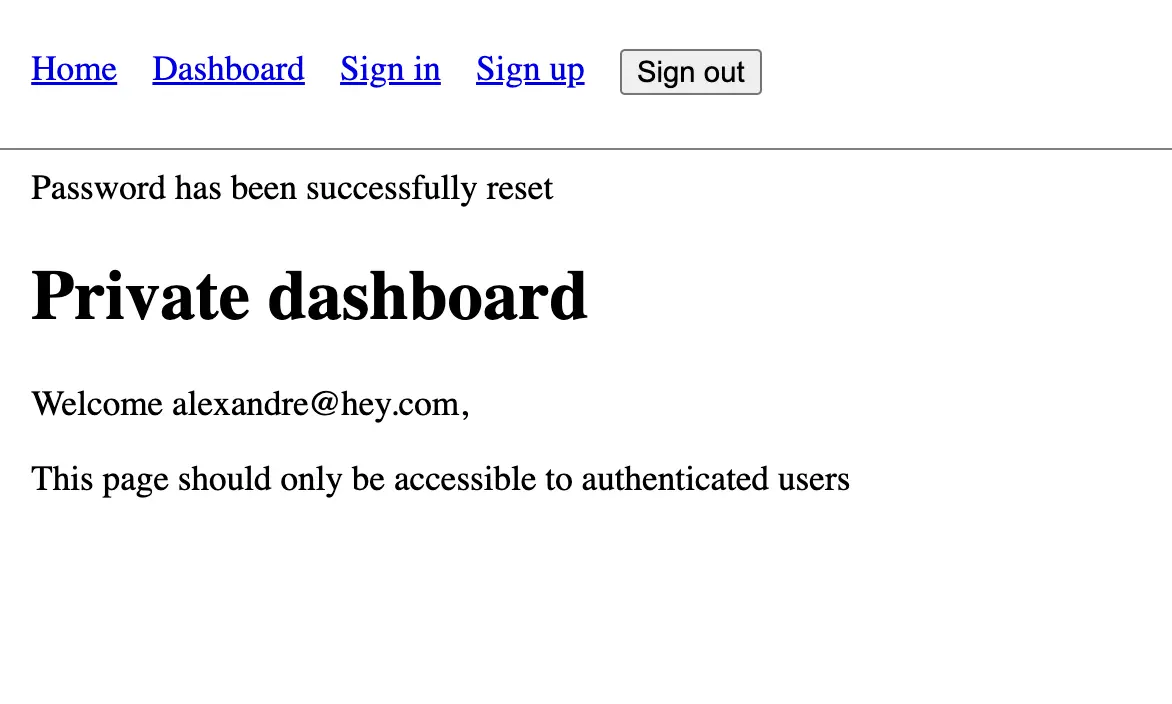
There's quite a lot of work ahead of us, so let's get started!
Sending the password reset email
Let's start implementing this feature. The first step, as usual, is to add a new route:
# config/routes.rb

Rails.application.routes.draw do
  # All the previous routes

  resource :password_reset, only: %i[new create edit update]
end
We will use the #new and #create actions to send the email with the token and the #edit and #update actions to actually update the password.
In the sign-in form, let's add a link to the password reset page:
<%# app/views/sessions/new.html.erb %>

<%# All the previous code %>

<%= link_to "Forgot password?", new_password_reset_path %>
Finally, let's create the view where we ask the user to enter their email address so that we can send them the password reset link:
<%# app/views/password_resets/new.html.erb %>

<h1>Password reset</h1>

<%= form_with url: password_reset_path do |f| %>
  <div>
    <%= f.label :email %>
    <%= f.email_field :email %>
  </div>

  <%= f.submit "Reset password" %>
<% end %>
The last step is to create the PasswordResetsController with the #new and #create actions to actually deliver the password reset email with the unique token to the user:
# app/controllers/password_resets_controller.rb

class PasswordResetsController < ApplicationController
  before_action :redirect_if_signed_in

  def new
  end

  def create
    if user = User.find_by(email: params[:email])
      # 1. Generate the unique token
      # 2. Deliver it via email

      redirect_to root_path, notice: "Email sent with password reset instructions"
    else
      flash.now[:notice] = "No user found with that email address"
      render :new, status: :unprocessable_entity
    end
  end
end
The #new action is very simple: It's only here so that we can render the view.
The #create action, on the other hand, is a bit more complex. First, we try to find a user by the email address that was submitted in the form. If we don't find one, we render the form again with an error message. If we find a user, we want to generate a unique token and send it to the user via email. We then redirect the user to the root path with a notice that the email was sent. We'll implement those two steps very soon.
Note that we added a before_action to redirect the user to the root path if they are already signed in. We don't want a signed-in user to reset their password this way. We'll add another way for signed-in users to update their password in a future lesson.
Generating the token
There are many ways to generate a unique token. We could use the SecureRandom module that comes with Ruby to generate the token:
require "securerandom"

SecureRandom.base58(24)
# => "Mxmrn8ZeYU7stHCS9mSU5hfs"

SecureRandom.uuid
# => "9145bf63-bdc1-4bd3-896a-1ec8ca9d0f23"
Both the #base58 and #uuid methods would generate a unique token.
However, to make sure that the token we send by email is the same as the token we get back from the user, we would have to store the generated token in the database before we deliver it by email to be able to compare it with the token we get back later from the user. Note that we should also hash the reset password token before storing it in the database. That way, if the database is compromised, attackers won't be able to update our users' passwords.
While the method described above is perfectly valid, it would require a lot of work. Instead, we are going to rely on the generates_token_for method that will help us achieve the same goal with much less code. Let's update our User model, and we'll explain how it works in detail right after:
# app/models/user.rb

class User
  # All the previous code
  generates_token_for :password_reset, expires_in: 1.hour do
    password_salt.last(10)
  end
end
With this macro in place, we can now generate a token for a given user. Let's try it in the Rails console with the first user:
user = User.first
signed_token = user.generate_token_for(:password_reset)
# => "eyJfcmFpbHMiOnsiZGF0YSI6WzQsIk1weWdnRU9yOU8iXSwiZXhwIjoiMjAyNC0wNy0zMVQxMDoxMTo0My45MzhaIiwicHVyIjoiVXNlclxucGFzc3dvcmRfcmVzZXRcbjM2MDAifX0=--44c3c214929f59cde71d5dd14250f25464280a59"
As we can see, we get back a signed string with the signature being the part after the two dashes --. Let's decode the public part of this token to see its value:
payload, signature = signed_token.split("--")
decoded_payload = JSON.parse(Base64.decode64(payload))
# => {"_rails"=>{"data"=>[1, "MpyggEOr9O"], "exp"=>"2024-07-31T10:13:37.228Z", "pur"=>"User\npassword_reset\n3600"}}
As we can see, the payload data contains the last 10 characters of the user's password salt:
user.id # => 1
user.password_salt.last(10) # => "MpyggEOr9O"
Note that the token also has a purpose ("pur") that is password reset and an expiration date ("exp"). The token is valid for 1 hour as we configured.
Now, how can we verify that the token we get back from the user is the same as the one we generated? We can use the #find_by_token_for method:
User.find_by_token_for(:password_reset, signed_token)
# => #<User:0x000000012bb72a88 id: 1, ...> (Our first user)
Under the hood, Rails will find the user with id 1 and compare their last 10 password salt characters with the ones in the token. If both values match, it will return the user with id 1, and if it doesn't, it will return nil.
There are several advantages to this approach:
- No need to store a random hashed token in the database.
- The token is signed so we can verify it hasn't been tampered with.
- The token has an expiration date out of the box which improves security.
Rails really is an amazing framework that makes it very easy to implement complex features. We'll use this method to generate the token in this course so let's replace the comment in the PasswordResetsController with the actual code:
# app/controllers/password_resets_controller.rb

class PasswordResetsController < ApplicationController
  # All the previous code

  def create
    if user = User.find_by(email: params[:email])
      token = user.generate_token_for(:password_reset)
      # 2. Deliver the email

      redirect_to root_path, notice: "Email sent with password reset instructions"
    else
      flash.now[:notice] = "No user found with that email address"
      render :new, status: :unprocessable_entity
    end
  end
end
Now that we have our token, we need to deliver it via email.
Delivering the email
To deliver the email, we are going to use ActionMailer. Let's create a new mailer called UserMailer with an email called password_resets:
# app/mailers/user_mailer.rb

class UserMailer < ApplicationMailer
  def password_reset
  end
end
What we want to do in our case is to send the email to the user who requested the password reset with a link to the password reset form that includes the unique token. Let's first update the PasswordResetsController to deliver the email:
# app/controllers/password_resets_controller.rb

class PasswordResetsController < ApplicationController
  # All the previous code

  def create
    if user = User.find_by(email: params[:email])
      token = user.generate_token_for(:password_reset)
      UserMailer.with(user: user, password_reset_token: token).password_reset.deliver_later

      redirect_to root_path, notice: "Email sent with password reset instructions"
    else
      flash.now[:notice] = "No user found with that email address"
      render :new, status: :unprocessable_entity
    end
  end
end
We now call the mailer with the user and the password reset token as arguments and deliver the email asynchronously. With those arguments, we can now configure the mailer:
# app/mailers/user_mailer.rb

class UserMailer < ApplicationMailer
  def password_reset
    @user = params[:user]
    @password_reset_token = params[:password_reset_token]

    mail to: @user.email, subject: "Reset your password"
  end
end
We accomplish multiple things in those few lines of code.
First, we retrieve the user and the password reset token from the parameters and assign them to instance variables so we can use them in the view.
We then call the mail method with the user's email as the recipient and the subject of the email. We don't need to specify the view because Rails will automatically look for a view with the same name as the method in the app/views/user_mailer folder.
Let's create this view:
<%# app/views/user_mailer/password_reset.html.erb %>

<p>Hello <%= @user.email %>,</p>

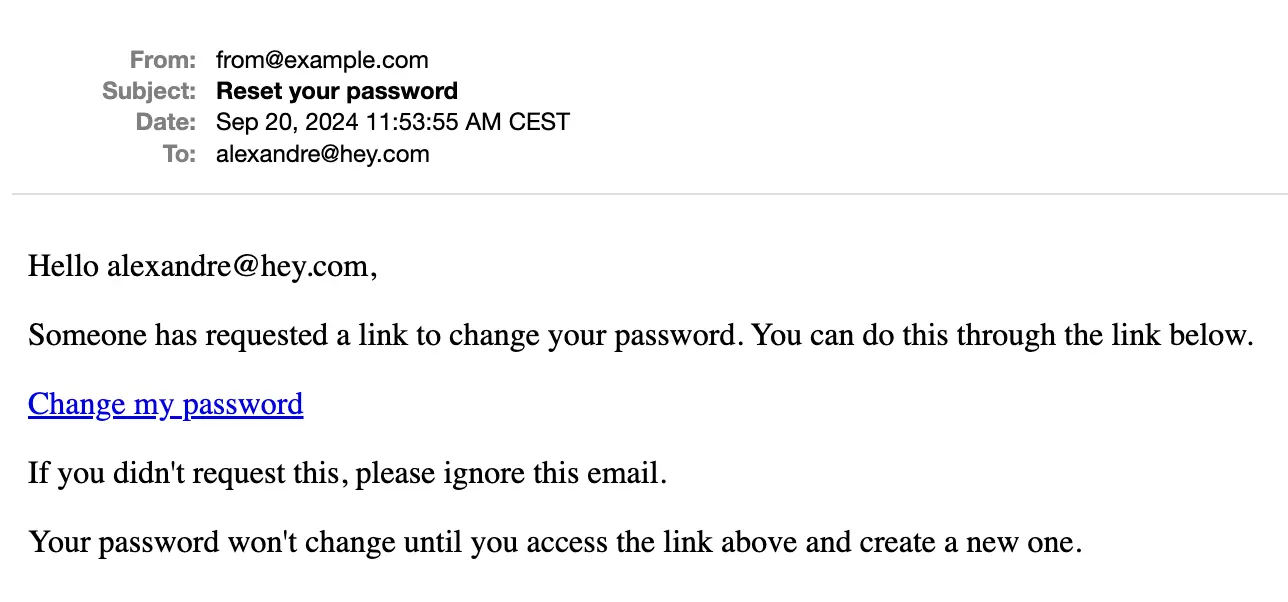
<p>Someone has requested a link to change your password. You can do this through the link below.</p>

<p>
  <%= link_to edit_password_reset_url(password_reset_token: @password_reset_token) do %>
    Change my password
  <% end %>
</p>

<p>If you didn't request this, please ignore this email.</p>

<p>Your password won't change until you access the link above and create a new one.</p>
There are lots of important details in this view.
First, the instance variables we defined in the password_reset action are accessible to the view, which allows us to customize the email content with the user's email.
Second, we use the edit_password_reset_url helper to generate the link and not the edit_password_reset_path helper. This is very important because the URL helper will generate an absolute URL with the host, protocol, and port number. For this to work, we need to configure the default URL options in the config/environments/development.rb file:
# config/environments/development.rb

require "active_support/core_ext/integer/time"

Rails.application.configure do
  # All the previous code

  # Mailer default URL options
  config.action_mailer.default_url_options = { host: "localhost", port: 3000 }
end
If you are not familiar with the difference, let's check in the Rails console (make sure you restart your Rails console as we just changed a configuration file):
Rails.application.routes.url_helpers.edit_password_reset_url(password_reset_token: "token", **Rails.application.config.action_mailer.default_url_options)
# => "http://localhost:3000/password_reset/edit?password_reset_token=token"

Rails.application.routes.url_helpers.edit_password_reset_path(password_reset_token: "token", **Rails.application.config.action_mailer.default_url_options)
# => "/password_reset/edit?password_reset_token=token"
The difference between the two methods is that the _url method generates an absolute URL with the host, protocol, and port number, while the _path method generates a relative URL. In the context of your inbox, you need an absolute URL to be directed to the right website.
Last but not least, we also pass the token as a query parameter in the URL. This is important because we need to be able to retrieve the token when the user clicks on the link as we'll see in the next section.
Testing email delivery
To check that the email is sent correctly in development, we can use the letter_opener gem. Let's add it to our Gemfile:
# Gemfile

# All the previous code
group :development do
  # All the previous code
  gem "letter_opener"
end
We can then add the following configuration to the config/environments/development.rb file as instructed in the gem's documentation:
# config/environments/development.rb

# All the previous code
config.action_mailer.delivery_method = :letter_opener
config.action_mailer.perform_deliveries = true
Let's not forget to restart our Rails server since we installed a new gem and changed some configuration files.
If we now navigate to the sign-in page, click on "Forgot password?", and submit the form with a valid email address, a new tab should open with the password reset email instructions:
We are now ready to implement the second part of the password reset feature.
Resetting the password
Now that we have successfully sent the email, we need to implement the password reset form. Let's create the view:
<%# app/views/password_resets/edit.html.erb %>

<h1>Reset your password</h1>

<%= form_with scope: :password_reset, url: password_reset_path, method: :patch do |f| %>
  <%= hidden_field_tag :password_reset_token, params[:password_reset_token] %>

  <div>
    <%= f.label :password %>
    <%= f.password_field :password %>
  </div>

  <div>
    <%= f.label :password_confirmation %>
    <%= f.password_field :password_confirmation %>
  </div>

  <%= f.submit "Reset password" %>
<% end %>
The important part to notice here is that we retrieve the password reset token from the query parameters and store it in a hidden field. This way, when the user submits the form, we can retrieve the token and find the user associated with it.
The password reset form also has two fields: one for the new password and one to confirm the password. This is a feature provided by the has_secure_password method in the User model ensuring the user doesn’t make a typo when entering the password. It works out of the box.
In this form, we also use the scope option so that we can later access the params with params[:password_reset][:password] and params[:password_reset][:password_confirmation]. While it's not mandatory, I find it makes it easier to manipulate the params in the controller.
With the view in place, let's go back to our controller and implement the #edit and #update actions:
# app/controllers/password_resets_controller.rb

class PasswordResetsController < ApplicationController
  # All the previous code

  def edit
  end

  def update
    user = User.find_by_token_for(:password_reset, params[:password_reset_token])

    if user.nil?
      flash[:notice] = "Invalid token. Try again by requesting a new password reset link."
      redirect_to new_password_reset_path
    elsif user.update(password_reset_params)
      sign_in user
      redirect_to dashboard_path, notice: "Password has been successfully reset"
    else
      flash.now[:notice] = user.errors.full_messages.to_sentence
      render :edit, status: :unprocessable_entity
    end
  end

  private

  def password_reset_params
    params.require(:password_reset).permit(:password, :password_confirmation)
  end
end
Once again, the #edit action does nothing special and is only here for us to be able to display the password reset form.
The #update action is more interesting. We first try to retrieve the user associated with the token. If no user is found (because the token has expired or an attacker tampered with it), we display an error message and redirect the user to the new password reset form so that they can try again.
If a user is found and the password is successfully updated, we sign in the user and redirect them to the dashboard.
If the user isn't updated (both passwords don't match or the password is too short), we display the error messages and re-render the form.
We made it! We successfully implemented a password reset feature in our Rails application.
Syntactic sugar
In this lesson, we learned to generate a password reset token and retrieve the user associated with it thanks to the following code:
class User < ApplicationRecord
  has_secure_password

  generates_token_for :password_reset, expires_in: 1.hour do
    password_salt&.last(10)
  end
end

token = user.generate_token_for(:password_reset)
# => "eyJfcmFpbHMiOnsiZGF0YSI6WzQsIk1weWdnRU9yOU8iXSwiZXhwIjoiMjAyNC0wNy0zMVQxMDoxMTo0My45MzhaIiwicHVyIjoiVXNlclxucGFzc3dvcmRfcmVzZXRcbjM2MDAifX0=--44c3c214929f59cde71d5dd14250f25464280a59"

User.find_by_token_for(:password_reset, token)
# => #<User email: "[email protected]" >
However, it will soon be even easier thanks to a pull request by DHH. The has_secure_password method will soon provide us with a password_reset_token method and a find_by_password_reset_token method:
class User < ApplicationRecord
  has_secure_password
end

user = User.create!(name: "david", password: "123", password_confirmation: "123")
token = user.password_reset_token
User.find_by_password_reset_token(token)
This is handy as it will make the code even more readable and easier to understand. However, I still wanted to show you the other implementation as generates_token_for is a powerful method that can be used in many other contexts.