Setup
The goal of this chapter is to create a brand-new Ruby on Rails application with two pages:
- A landing page that will be accessible by all users, whether they are authenticated or not
- A private dashboard that will be accessible only to authenticated users
For this tutorial, I'll be very quick on the setup as it will only involve very simple Ruby on Rails code. Let's go ahead and create this application:
rails new authentication-course
We can now cd into the created repository:
cd authentication-course
Landing page
Let's create our landing page that will reside at the root path of the application. The first step is to create the root route:
# config/routes.rb

Rails.application.routes.draw do
  root "pages#home"
  # All the previous code
end
We can now create the associated controller:
# app/controllers/pages_controller.rb

class PagesController < ApplicationController
  def home
  end
end
And the associated view:
<%# app/views/pages/home.html.erb %>

<h1>
  Landing page
</h1>
<p>
  This page is public and can be accessed by both authenticated and unauthenticated users.
</p>
Finally, let’s add a quick test to make sure our page is working properly:
# test/controllers/pages_controller_test.rb

require "test_helper"

class PagesControllerTest < ActionDispatch::IntegrationTest
  test "#home is accessible by anyone" do
    get root_path

    assert_response :success
  end
end
Dashboard page
We can repeat this process in order to create our /dashboard page. First, let's create the route:
# config/routes.rb

Rails.application.routes.draw do
  root "pages#home"
  resource :dashboard, only: :show

  # All the previous code
end
Then, the controller:
# app/controllers/dashboards_controller.rb

class DashboardsController < ApplicationController
  def show
  end
end
And the view:
<%# app/views/dashboards/show.html.erb %>

<h1>
  Private dashboard
</h1>
<p>
  This page should only be accessible to authenticated users.
</p>
Finally, let’s add a test to make sure our dashboard is working properly:
# test/controllers/dashboards_controller_test.rb

require "test_helper"

class DashboardsControllerTest < ActionDispatch::IntegrationTest
  test "#show is accessible by anyone" do
    get dashboard_path

    assert_response :success
  end
end
As our dashboard is currently publicly accessible, the test makes sure the response is successful. Later on, we will add authentication to make sure only authenticated users can access this page and change the test accordingly.
We can now run our tests to make sure everything is working as expected:
bin/rails test
If everything is green, we can start our server:
bin/rails server
And visit http://localhost:3000 to see our landing page and http://localhost:3000/dashboard to see our dashboard.
Navbar
Let's quickly add a navigation bar to make it easier to navigate between the two pages:
<%# app/views/layouts/application.html.erb %>

<!DOCTYPE html>
<html>
  <head>
    <title>Authentication Course</title>
    <meta name="viewport" content="width=device-width,initial-scale=1">
    <%= csrf_meta_tags %>
    <%= csp_meta_tag %>

    <%= stylesheet_link_tag "application", "data-turbo-track": "reload" %>
    <%= javascript_importmap_tags %>
  </head>

  <body>
    <header>
      <nav>
        <ul>
          <li><%= link_to "Home", root_path %></li>
          <li><%= link_to "Dashboard", dashboard_path %></li>
        </ul>
      </nav>
    </header>

    <main>
      <%= yield %>
    </main>
  </body>
</html>
Finally, let's add a few lines of CSS to separate the navigation bar from the main content:
/* app/assets/stylesheets/application.css */

body {
  margin: 0;
}

header {
  border-bottom: 1px solid gray;
  padding: 0.5rem 1rem;
}

header > nav > ul {
  display: flex;
  gap: 1rem;
  list-style: none;
  padding: 0;
}

main {
  padding: 0.5rem 1rem;
}
Flash messages
Last but not least, let's add a way to display flash messages to the user thanks to the notice helper:
<%# app/views/layouts/application.html.erb %>

<%# all the previous code %>
<main>
  <%= notice %>

  <%= yield %>
</main>
<%# all the previous code %>
We will use flash messages a lot in this course to display success and error messages to our users when implementing our authentication system.
The application should now look like this:
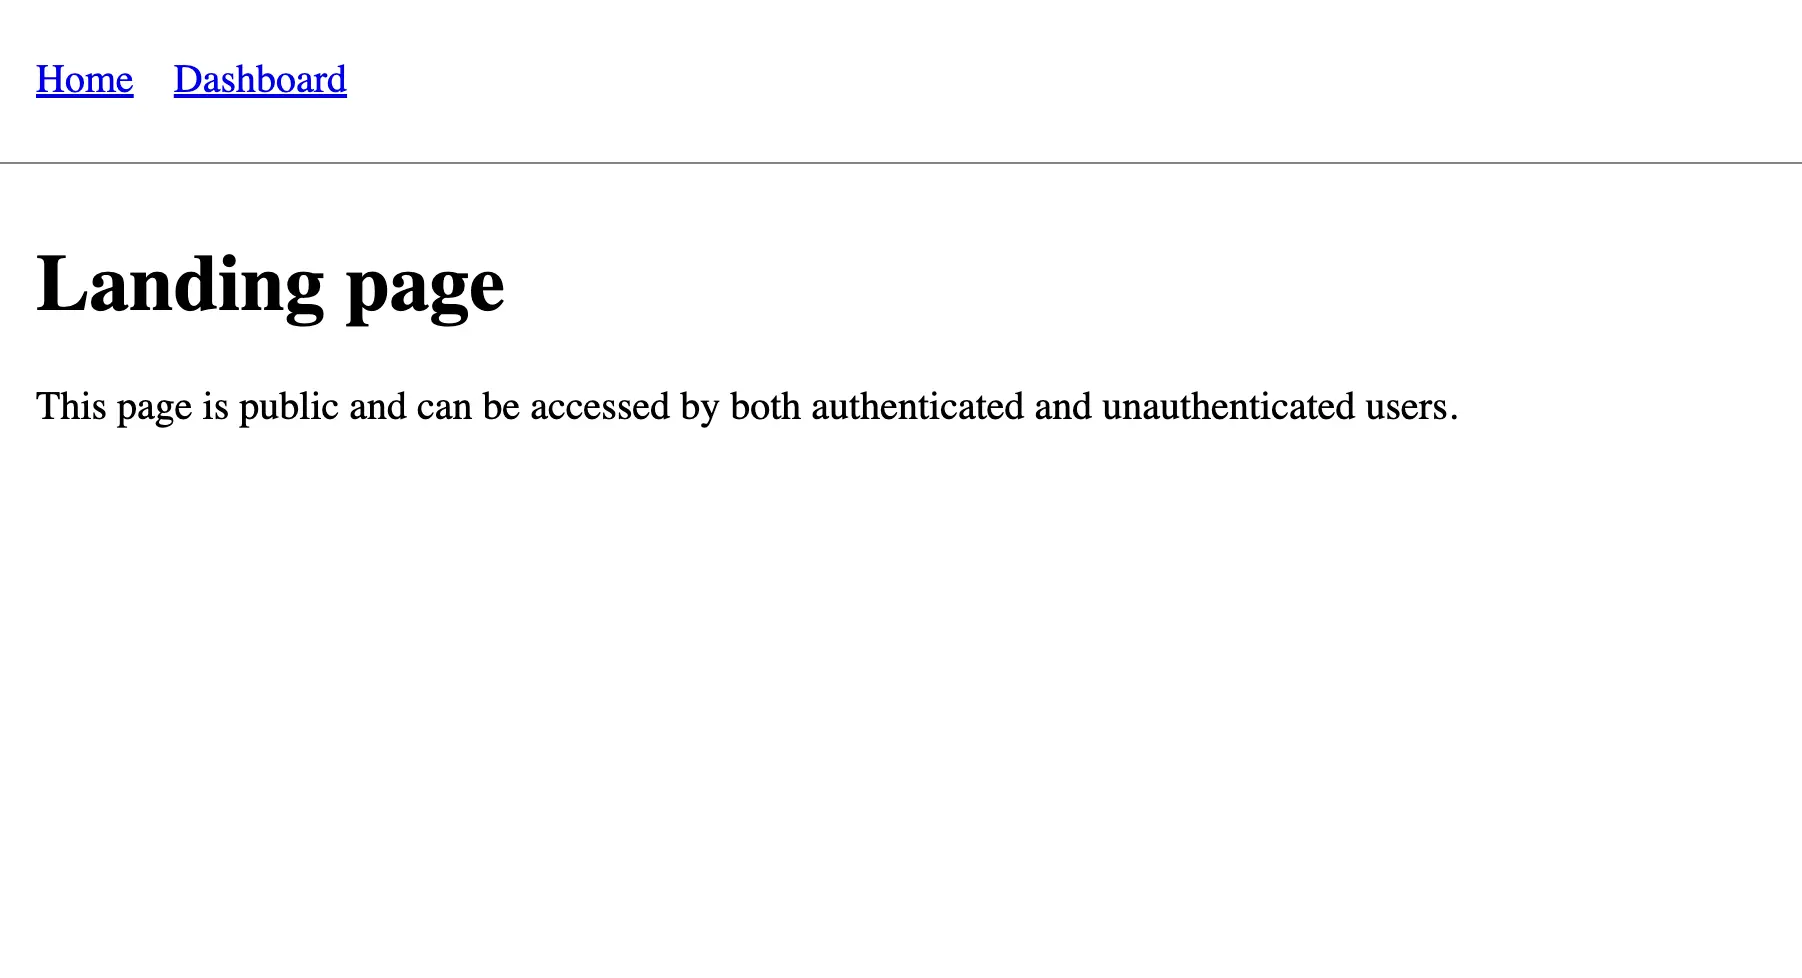
Ugly, right? Let's not get too attached to the design; this is an authentication course, not a CSS course!
We can now launch the tests with rails test to make sure everything is working as expected. With our brand-new application in place, we are now ready to start working on our custom authentication.